
How Do I Set Up the MSA Galaxy GX2 For Use With the MSA ALTAIR 5X
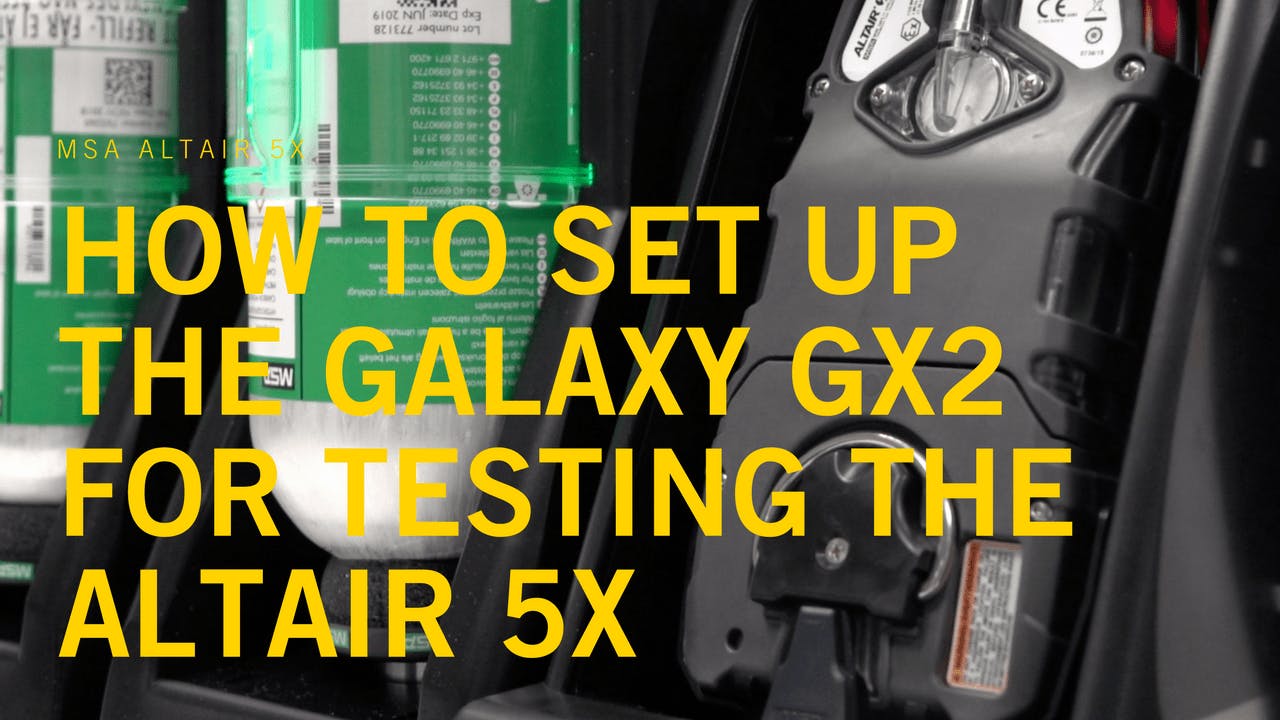
Regular bump testing and calibration are required for all gas detectors. Staying on top of this vital maintenance is made easier with the MSA Altair 5X when you use the Galaxy GX2. Learn more about the importance of bump testing and calibrating gas detectors.
In this guide, we'll cover how to prepare the Galaxy GX2 for bump testing and calibrating the Altair 5X.
Watch our video tutorial, along with our complete library of videos covering getting the most of the MSA Altair 5X here.
What Do I Need to Bump Test and Calibrate the MSA Altair 5X?
The sensors on the MSA Altair 5X we've used in the video are CO, CO2, SO2, NO2 and HCN so the gas we've used is specific to this monitor. However, you will need a variation of the following equipment to carry out bump testing and calibration:
- The Galaxy GX2 test stand for Altair 5X
- Four electronic cylinder holders
- Multi-charging unit
- Four calibration gas cylinders (specific to your Altair 5X configuration)
- An SD memory card
- The MSA Altair 5X
The SD memory card or SDHC memory card can be used alongside the Galaxy GX2 to store calibration and bump records. Secure the multi-unit charger to the right-hand side of the test side and replace the screws in the front and back.
Insert the power supplies into the back of the units:
- Cylinder holders are powered by the power supply from the test stand
- The multi-unit charger will require its own power supply
How to Set Up the Galaxy GX2?
- To connect the unit, ensure that all 5 barb fittings on the left-hand side of the test stand line up with the cylinder holder
- Press the 2 units together until the barb fittings are fully inserted and the flange screw holes align
- Insert the 3 screws provided to ensure a secure connection
- Repeat this process for the next 3-cylinder holders to complete the bank of 4
- Ensure the fresh air filter is placed on the furthest left cylinder holder in the setup
- Plug the system into an A/C outlet to power up and the MSA logo will briefly display
Once the unit has powered up insert the cylinders and turn until the cylinder stops and turns the light band green. Each of the cylinders on the home screen should display pressure. Clicking on individual cylinders will display the content of each one.
The Galaxy GX2 is now ready to bump test, calibrate and charge the MSA Altair 5X. Check out the following guides on our YouTube Channel which cover the use of the Galaxy GX2 and the Altair 5x:
How to Bump Test Using the Galaxy GX2
How to Calibrate using the Galaxy GX2
Overview and Benefits of the Galaxy GX2


