QRAE II Multi-Gas Detector - How to Bump Test and Manually Calibrate
Making sure your multi-gas detector is functioning properly is a vital responsibility. Therefore it's important to know how to properly bump test and manually calibrate the unit before you use it.
In this quick guide with video tutorials, we'll show you how quick and easy it is to perform these two operations on the QRAE II multi-gas detector.
Please note: the QRAE II multi-gas detector has been replaced by the BW GasAlertMicroClip XL. Servicing is still available on this monitor.
Share this on Twitter, LinkedIn and via email

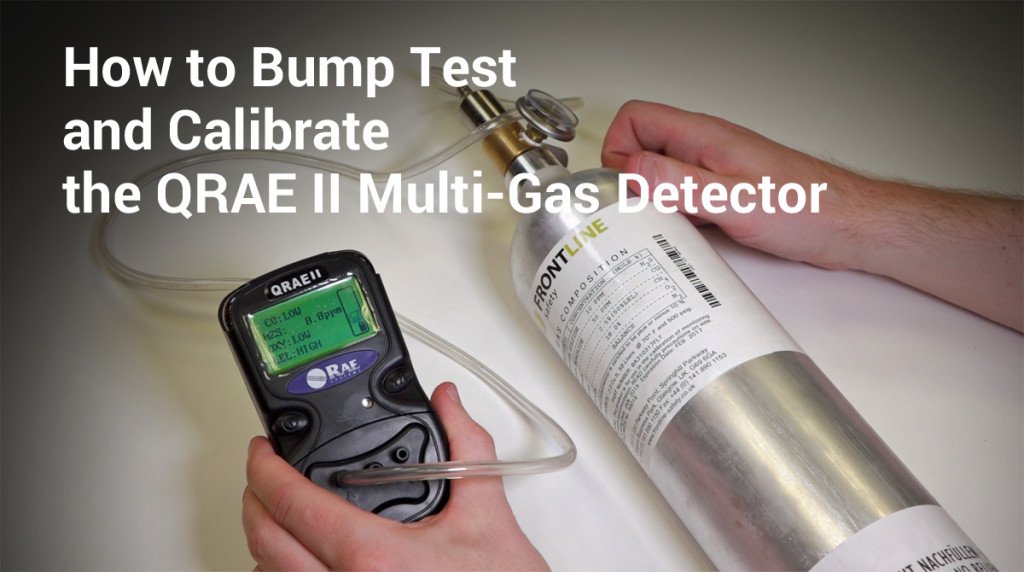
Before performing these maintenance operations, it's important that you have the required pieces of kit. These include:
- the QRAE II multi-gas detector
- the calibration adaptor, which is shipped with the unit
- calibration tubing
- a test gas bottle with the required gases
- a regulator
QRAE II - How to Perform a Bump Test
The purpose of a bump test is to put the known concentration of gases across the sensors to make sure the detector responds to the gases and goes into alarm.
Most gas detector manufacturers recommend daily bump testing of the units, however, it's important that you check any site or company-specific rules or policies on bump testing to make sure you stay in line with the proper guidelines.
Here's how it's done:
- make sure the QRAE II is in measure mode
- apply the calibration adaptor to the sensors on the front side of the unit
- turn on the gas regulator
- watch for each gas present to be detected by the unit
- remove the calibration adaptor, the unit is now ready to be used in the field
Watch our video tutorial here.
Share this on Twitter, LinkedIn and via email
QRAE II - How to Manually Calibrate
As for bump testing, you need the equipment detailed above to perform the calibration.
Here's how to do it:
- press and hold both buttons on the front of the QRAE II
- enter the passcode, the default is 0000
- data logging is now paused, you're in the calibration menu
- select "yes", you want to calibrate the monitor
- choose "fresh air calibration", making sure you're in such an environment
- the unit will reset all the sensors, this will take around 30 seconds to complete
- now the unit will prompt you to choose a "multi-sensor calibration", choose "yes"
- affix the calibration adaptor to the sensors and turn on the gas
- the calibration will take around 60 seconds to complete
- remove the adaptor and switch off the gas
- navigate through the menu back to measure mode, the unit is now ready to be used in the field
We have a video tutorial which you can watch here.